Keep the source and remove only what you do not need
Save an original copy. Crop empty margins or unrelated panels when the reader does not need them. Cropping can reduce the amount of image data without shrinking the letters that remain; resizing the entire screenshot makes those letters smaller.
Check the destination’s accepted formats and maximum size first. An upload that accepts JPG only needs a different workflow from an article that can display PNG or WebP. Filecozy supports JPG, PNG and WebP; it does not recover detail that is already missing.
Crop unnecessary parts of a screenshotTry lossless PNG before lowering quality
Lossless PNG optimization aims to preserve decoded pixels. Reducing the PNG colour palette is a separate operation that can change colours and antialiased letter edges. In the PNG compressor, choose the lossless mode when pixel preservation matters.
A source PNG may already be well optimized. Plain compression can keep the original when it is smaller, so an unchanged file size is a valid outcome. Re-encoding the same image repeatedly is not a reliable way to save more space.
Try lossless PNG compressionCompare JPG and WebP rather than choosing by extension
Lossy JPG or WebP can change thin strokes, punctuation, colour boundaries and small numbers. WebP may save space, while a particular JPG or WebP can also be larger than the original PNG. Quality 80 in different encoders does not mean equal visual quality.
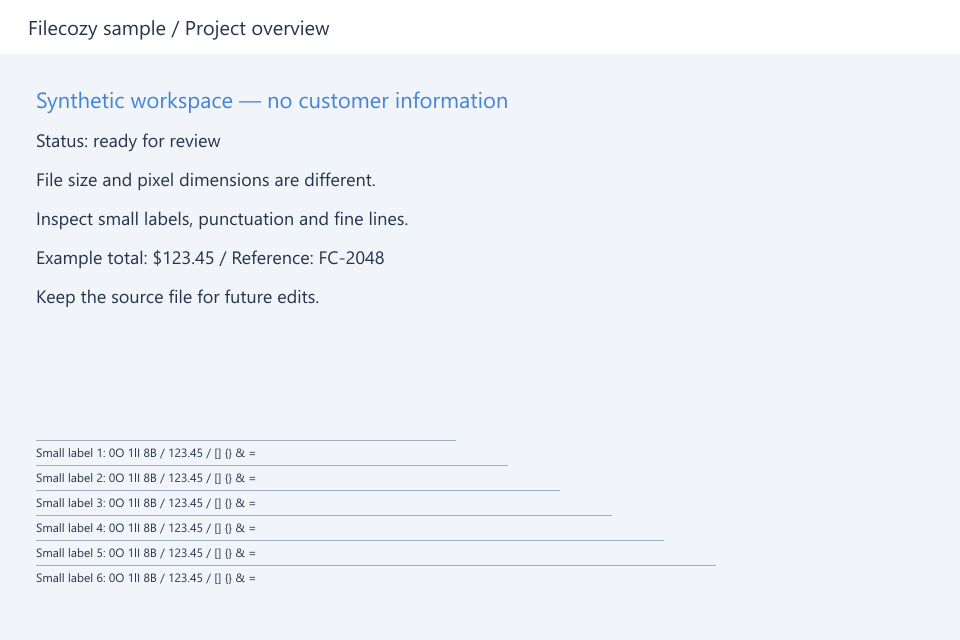
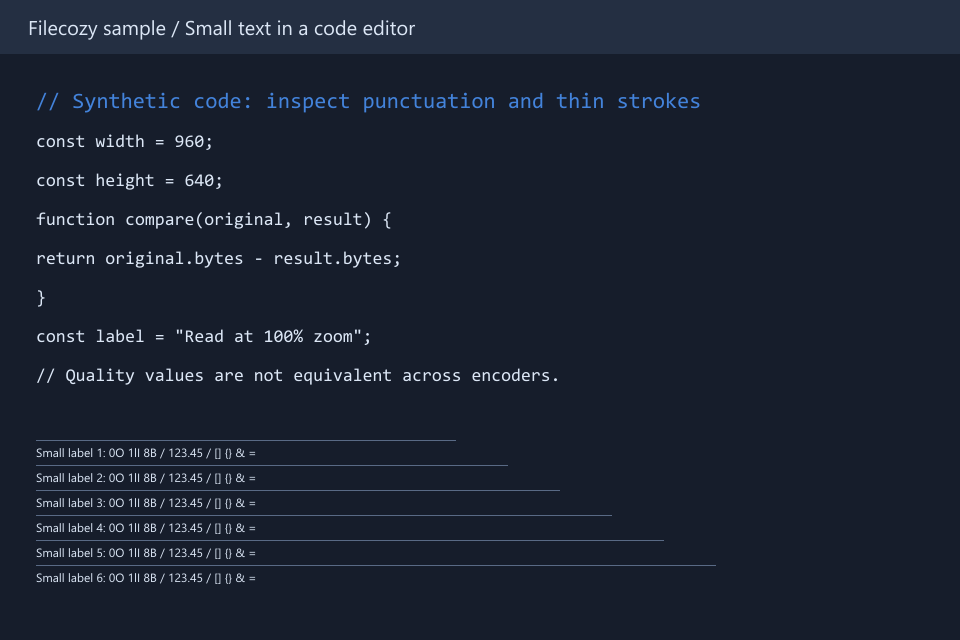
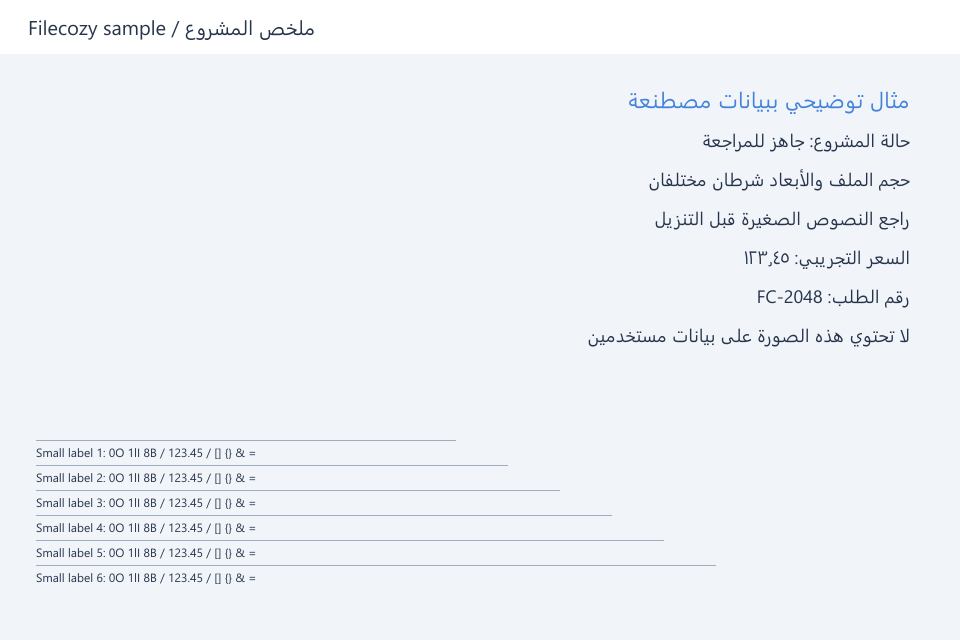
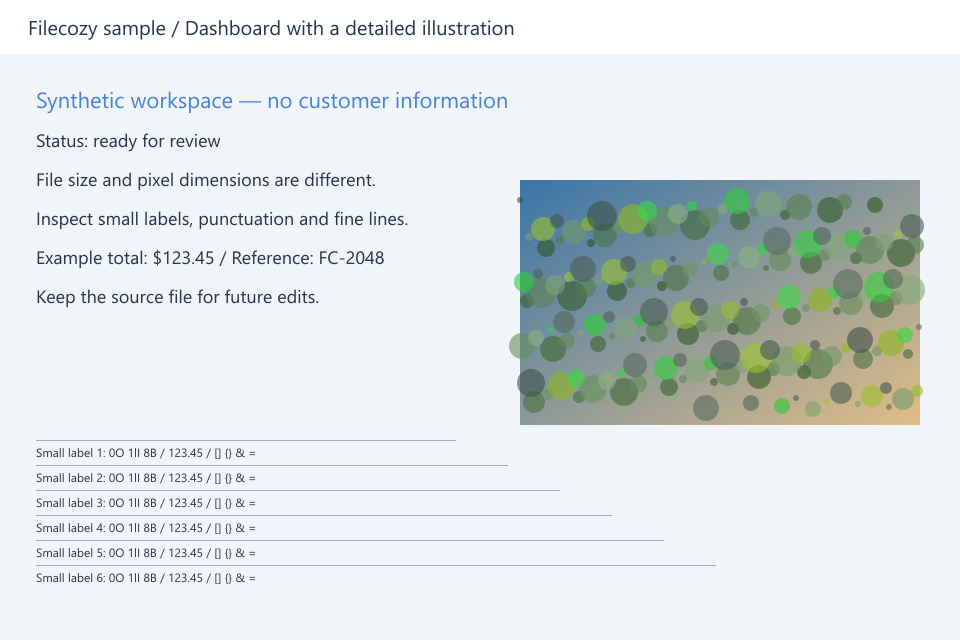
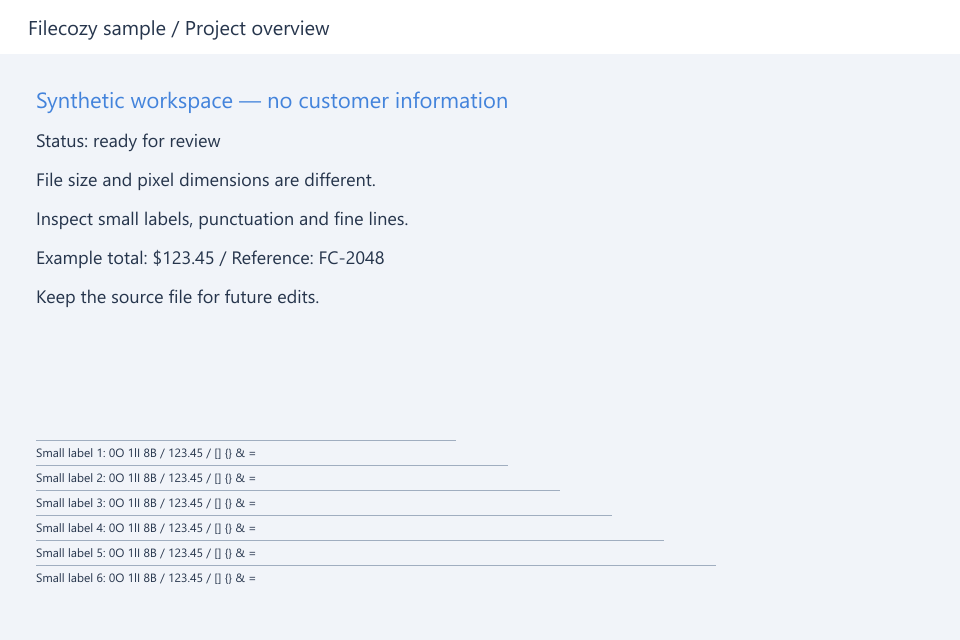
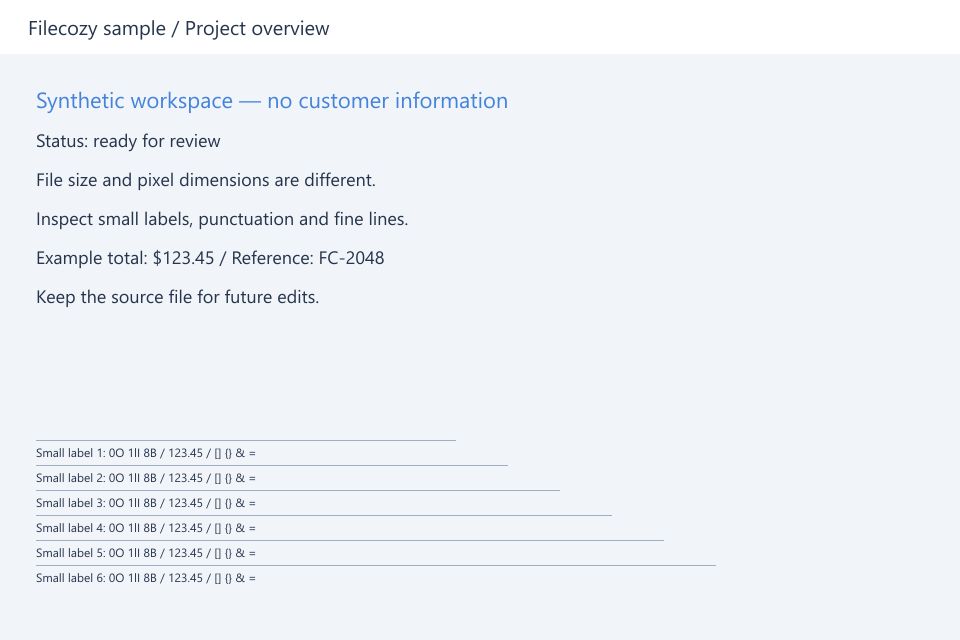
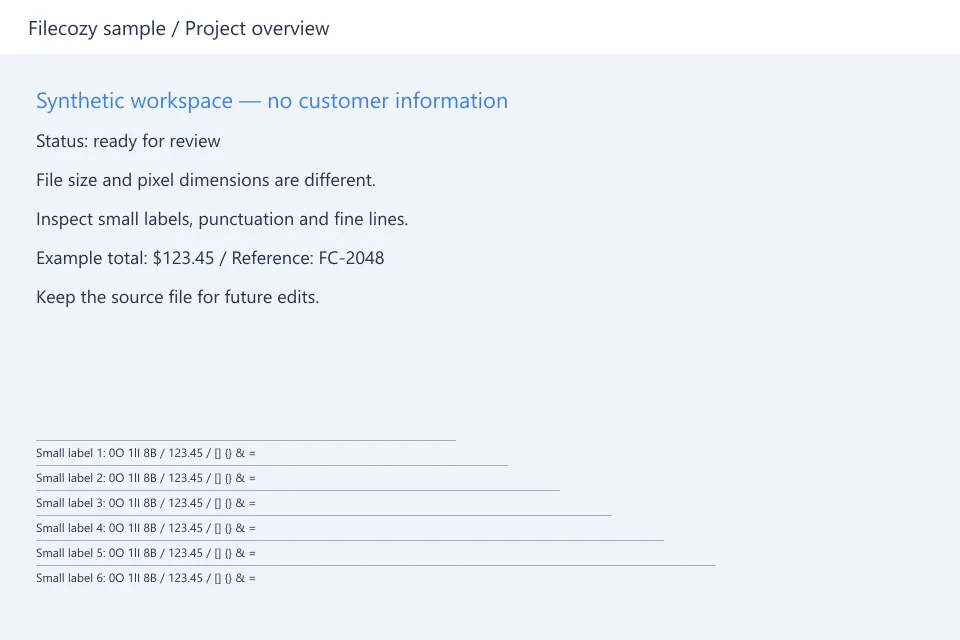
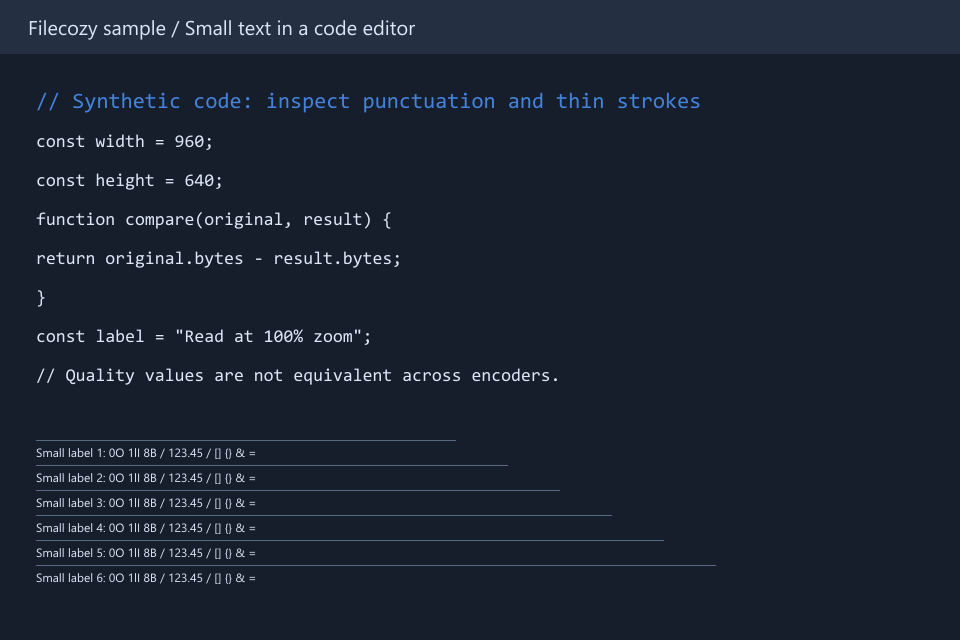
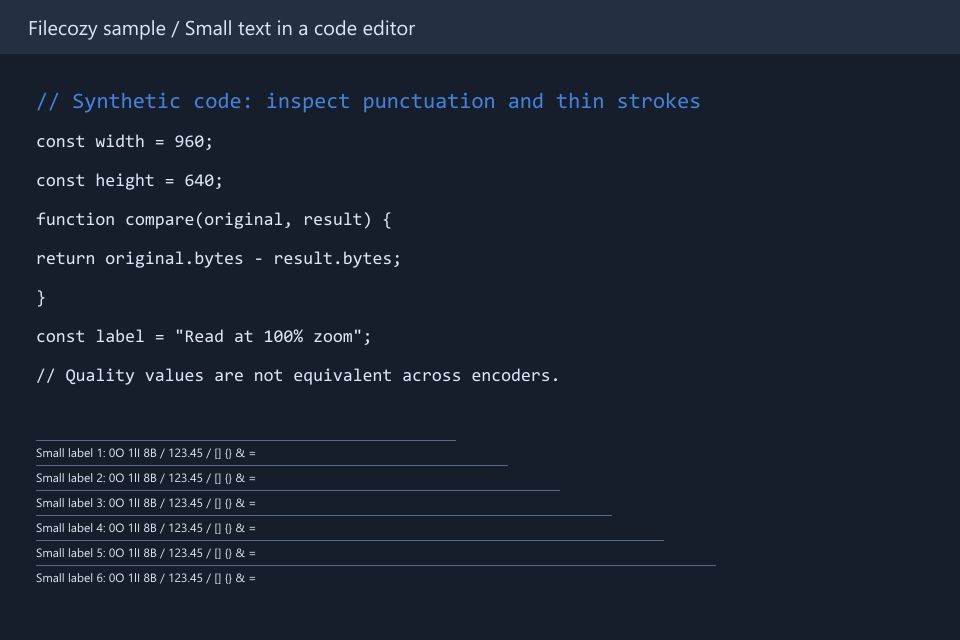
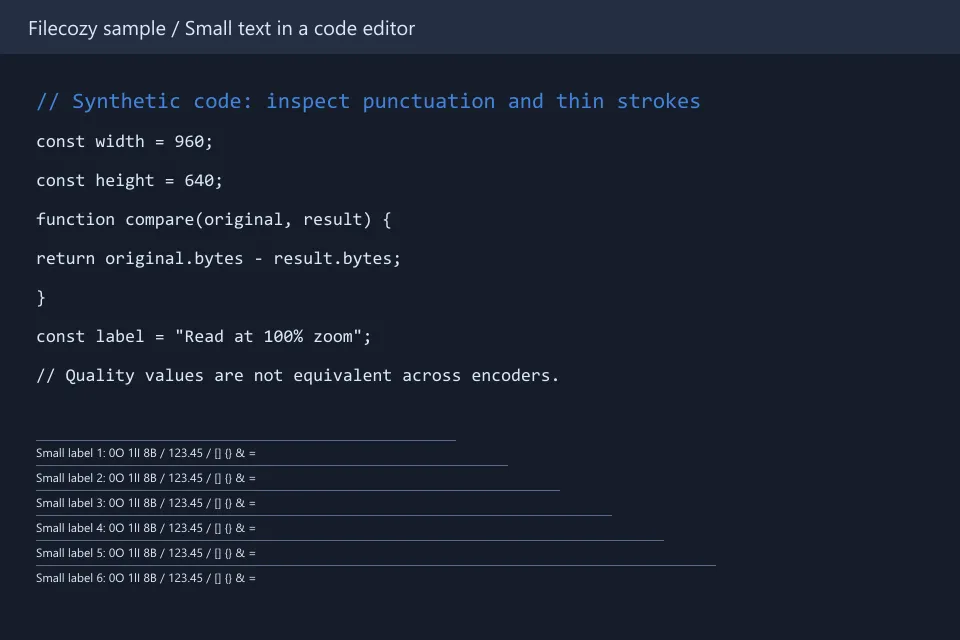
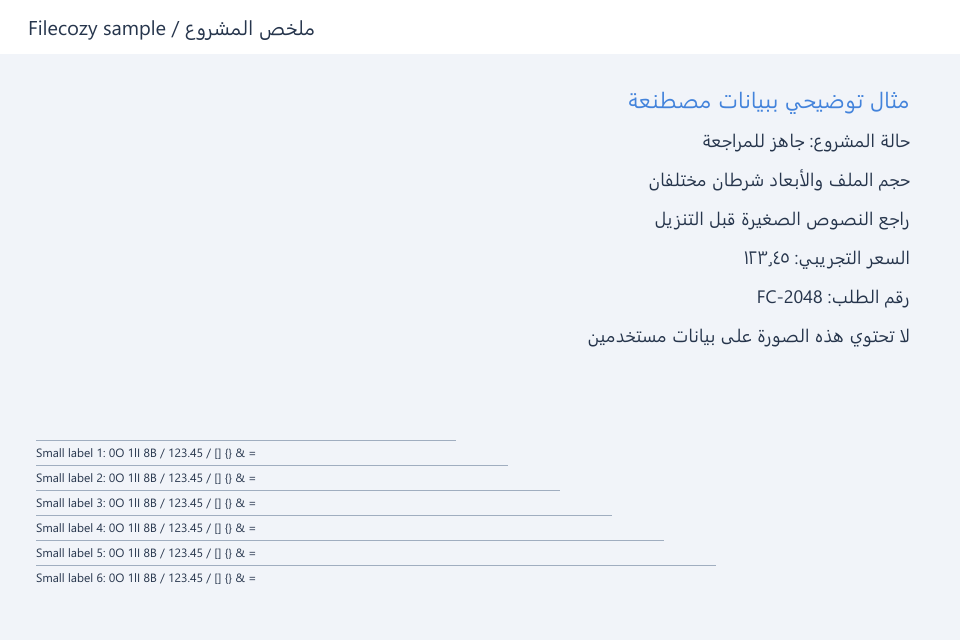
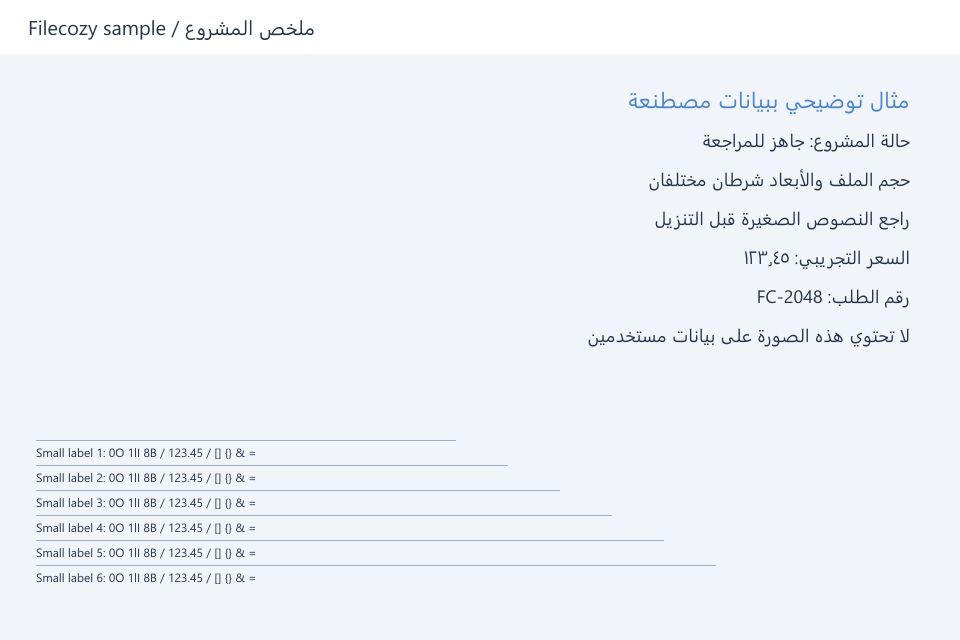
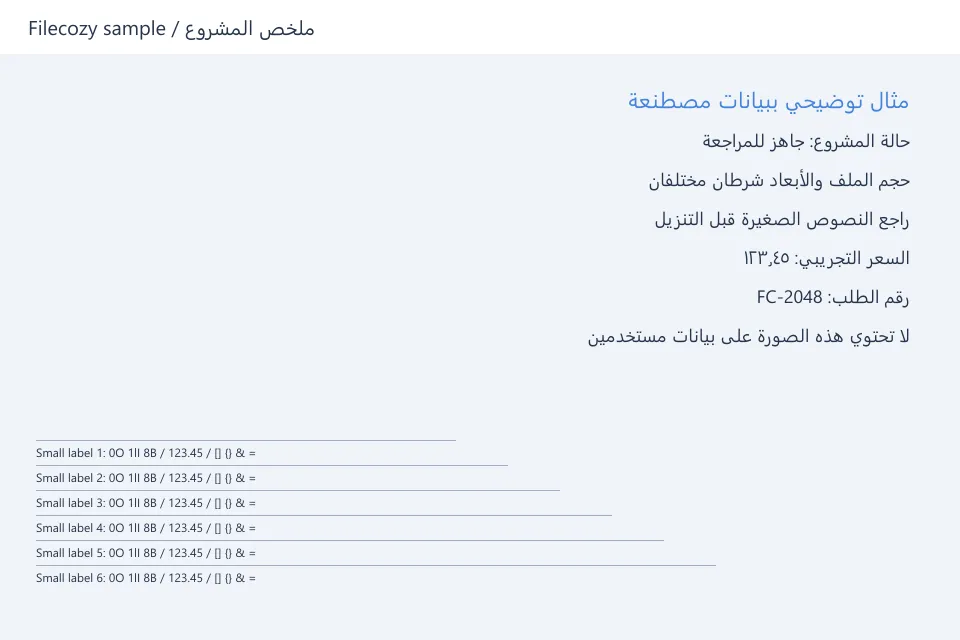
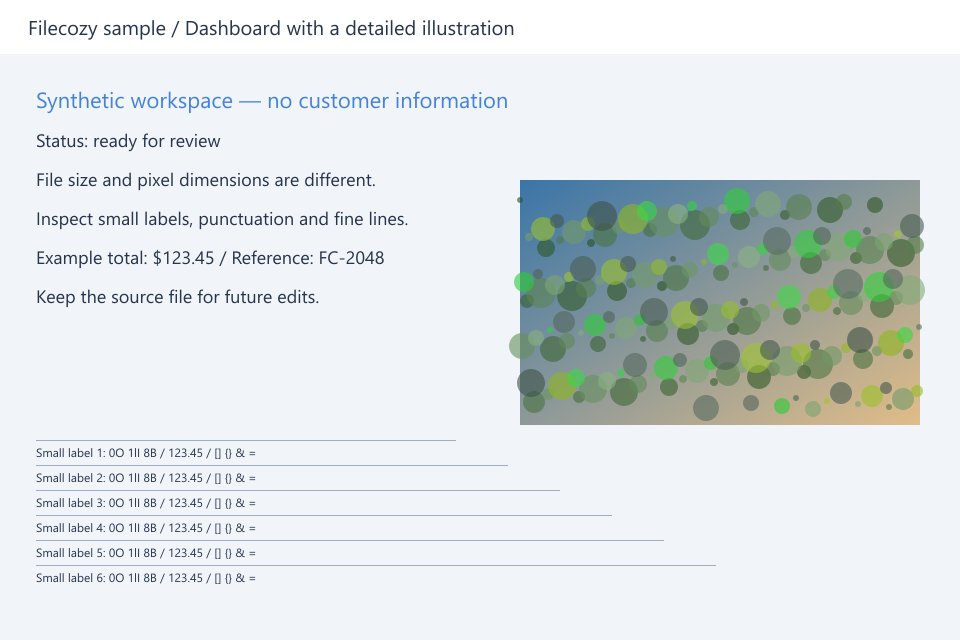
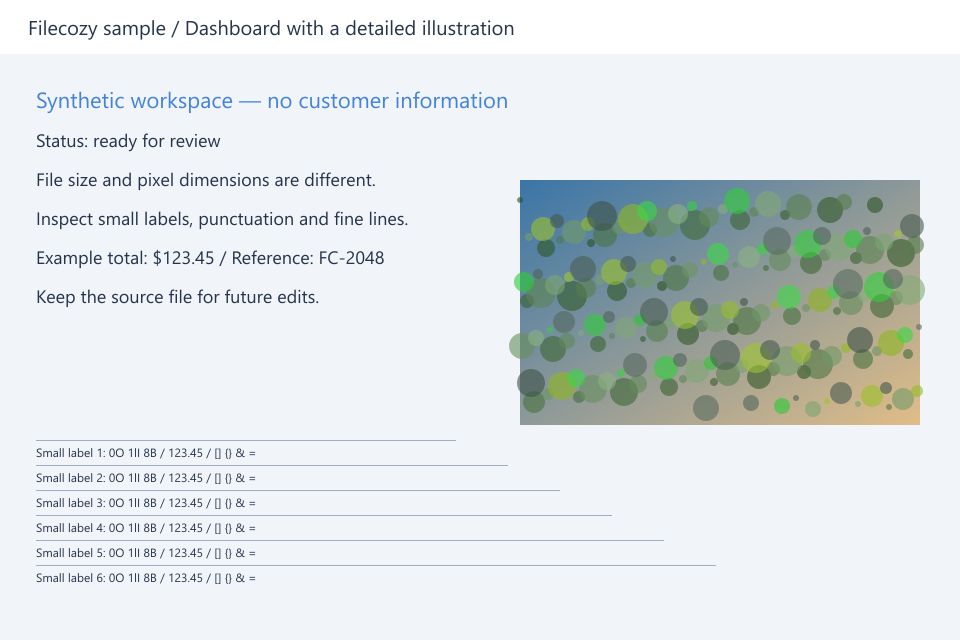
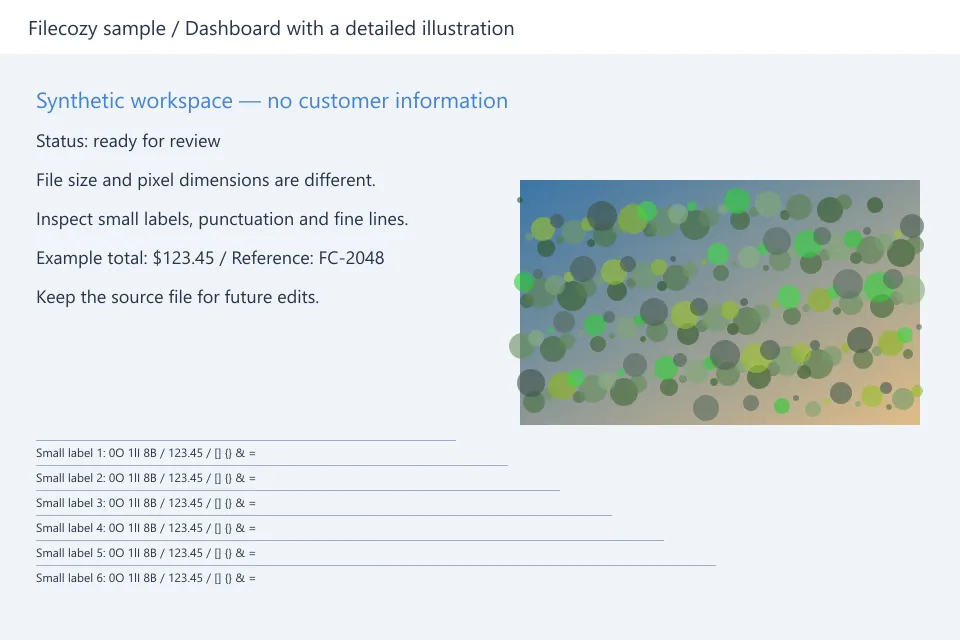
The samples below keep their 960 × 640 dimensions. Open the source and result at the same size, inspect the small labels and Arabic text, then compare the byte counts. These synthetic interfaces are controlled examples, not a claim about every screenshot or a comparison with competing tools.
Convert a PNG sample to WebPCheck the downloaded file at its real viewing size
Read the smallest label, decimal point and code punctuation without enlarging the image. Then inspect a close-up for halos or broken edges. A scaled preview can hide changes, and a zoomed picture alone does not tell you how readable the final page will be.
For a group of screenshots, review different examples before downloading the ZIP. If another operation is needed, download the result and select that file in the next tool. The links between tools do not transfer your selected files automatically.